How To Sign A Fax With Android Device
Faxing can be tricky, especially considering all the different devices and operating systems today. Luckily for Android users, there are many ways to sign fax using your Android device.
You don’t need a grand printer or pen on paper when you need to append your signature on a fax. You can sign a fax with Android with utmost ease. These are your essential documents that require your signature immediately. Whether you’re a business owner, lawyer, or student, you need Android apps that allow you to sign quickly and hassle-free. You can follow these steps to do it efficiently.
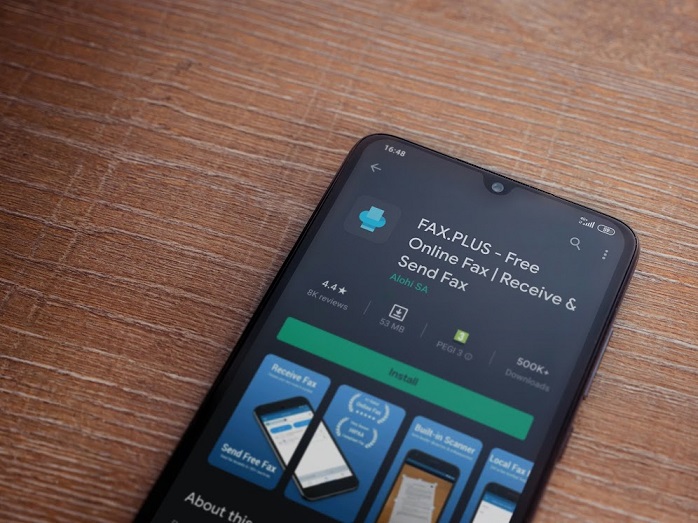
1. Choose A Software
With many apps available you can use to sign fax with Android, shopping for the best software may be difficult. While shopping for software, you should choose one that’s easy to use, set up, and compatible with your device. You also should be conscious of the user experience. You’ll spend a lot of time with this app, so you want something easy to use with a good user interface. It should also have all the features that you need. If the software doesn’t do faxing or scanning and sending and receiving faxes, it’s probably not suitable for your needs.
Also, consider the price of your shortlisted software programs. Some programs are free, while others cost a few bucks each month. It depends on the number of users you have or the features they offer (iPad support vs. Android support). Remember that although some apps are expensive at first glance, they can save time by making life easier, which translates into saving money over time. They also reduce your stress.
Additionally, check the ease-of-use/user interface design. If an app isn’t easy enough for you or anyone else but themselves, there are chances that you won’t enjoy using it. The app must be easily navigable without serious tutorials on enjoying the app. There’s only one way to find out if it’ll be a great app or not: use free trials.
2. Create An Account On The Software
You can create an account on the software itself if you decide to go with it. To do this, you’ll have to provide your email address and password together with your name, address, and phone number. You’ll also need to provide a fax and credit card numbers to process the payment details. If you’re creating an account for your business, the process may differ as you want to add other users. However, once you’ve signed up for a new account with your device, you can start the flexible process of signing a fax with Android.
3. Upload The File To Be Faxed
Now that you have the software installed on your device and signed up, you can upload files to it and send them as a fax. To start this process, if you don’t have the file on your phone, you need to capture it with your camera. Ensure that your camera is high quality and your hands are not shaky. You need to focus on the documents to take the best shot. You need to transfer the image to the app after capturing it.
You can do this through a variety of methods. You can drag and drop the file into an empty area, depending on the app’s setting. You may also click ‘send a file’ in the toolbar to get the fax you want to sign in the empty box. If the software allows it, you can even use your phone’s camera to capture the document (if it’s not yet on your phone). If you need help uploading files to this software, you can check their how-to guide on the app, as different software have different strategies for uploading faxes. When you get the fax into the box, follow the next step.
4. Click On ‘Sign’ To Create An Electronic Signature To Add To The Document Being Faxed
Click on ‘sign’ to create an electronic signature to be added to the fax document. The app will ask you to enter your password, name, and email address (if it is not already saved). This information will be inserted into the header of the fax as a watermark. If you don’t want this feature, you can eliminate it through your settings.
5. Select The Pen Icon To Add Any Other Text Or Handwritten Messages
You can use the pen icon to add other text or handwritten messages. Through the pen, you can drag your signature across the screen to capture it. Now, this may take you a few times. You may need to write and rewrite to get your signature’s perfect shape and size. You may need to try a few times to get it right because signing a Fax with Android may feel awkward. You can rotate your phone to write on a bigger screen.
6. When You Are Done, Click On ‘Finish’
When you get the perfect signature, click finish. You can add the signature to the appropriate line by dragging it on your screen. When you’re done, you can send the fax via email or any other means you prefer. You can attach messages to the fax too and send them. If you’re doing this, you may want to use email signatures to reassure the recipient that the fax is genuinely from you. By clicking on your email settings, you can write an email signature at the footer of any messages you send.
When you send the fax, your recipient will receive it instantly. You can even call them to confirm this. They can view your fax on any device, including their computer or mobile device. If they want to, they can make a hard copy of the fax.
Conclusion
It’s easy to sign fax with Android using an app. It’s faster, cheaper, and more convenient than a fax machine. Faxing with an Android device is not as daunting as it may seem initially. Once you have downloaded a compatible app, you can generally use it to send faxes without any additional fees or subscriptions. So, it should be a hassle-free task for you.