Tips on How to Remove Background Automatically
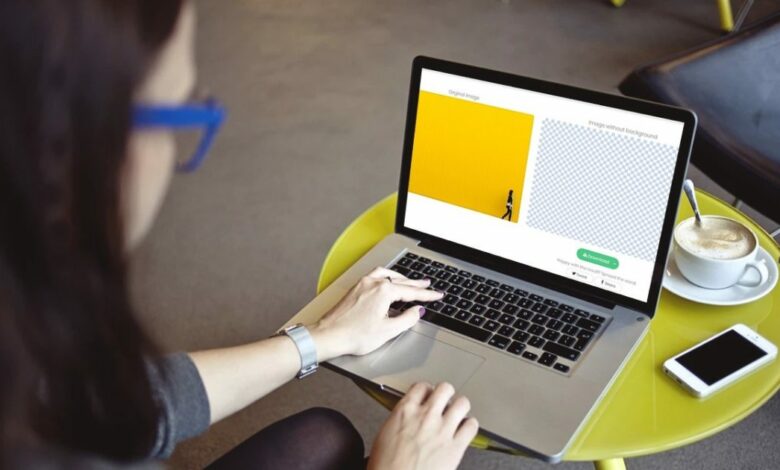
It takes a lot of skill and patience to get rid of the background in a hard copy. People who have used print editing apps like Photoshop before can easily get the background out of a hard copy. People who don’t know how to do it would find this composition helpful. To get the background out of an image quickly, you need a little practice and a lot of twinkles every single day.
Editing and Removing
Still, you can open it if you have a print editing app on your computer. However, if you Background remover on the Internet, you can download a free one that’s very good if you don’t already have one. However, if you have a lot of money to spend, we recommend buying the last version of Adobe Photoshop, which is the most stylish. This is because it’s more expensive.
- When the app is open, you can import the print from which you want to remove the background. Zoom in on the person or thing you want to keep in the picture, so it fills the screen. Choose a Lasso Tool (we assume you’re using Photoshop) and click on it.
- To use the Lasso Tool, you first need to name it. Then, you should carefully trace around the object, taking care not to hurt it. They may not be straight, so they may be round. To make a dashed line around the object, you need to carefully move the mouse. This is how you do it.
- It’s time to go back and click on the point where you started. Now, you should see that there is a dashed line around the edges of the object. Because you have named the object, you can now move on to the next step!
- Your next move is to press the Ctrl, Shift, and L keys to make the selection go the other way. As soon as you have pressed the keys, the picture’s background will be named.
- After you’ve named the background in the picture, you should hit the Cancel key on the keypad. Whether you’re using Photoshop or any other app, you should do this. A white background will show up in its place when you hit the key. The job is done.
Professional graphic design software makes background remover simple, whether you’re a professional or just like to make changes to prints for fun. Photoshop is one of the most stylish programs you should think about using. If you haven’t used the program before, there’s a guide on removing the background from your print.
How to Remove the Background
Photoshop should be the first thing you do. As a general rule, you should make sure the program starts up before you do anything else. Then you should load the print you want to change. Click the “Train” tab on the upper left corner of the screen to do this. You don’t have to do anything else. “Open” and look for the print that you want.
Following that, you should move the print to the birth platform. If you want to do this, you need to click on the “sludge” tab in the navigation menu and then choose “Extract.” Doing this will automatically cause the print to be sent to the “Birth” platform.
Step by Step Instructions
- It is important to outline the part of your print that you want to keep. You should use your marker tool to do this. After doing this, a temporary digital makeup will appear around the part of your body you want to keep. Click the makeup pail icon, and the area marked with a line will be filled in with makeup.
- You should click “OK” to say that you want to remove the background.
- When you click “OK,” your print will be sent back to Photoshop, and you’ll be able to see it with the background that was there before.
- You should right-click on the eraser icon to eliminate any extra background. It’s important to clean the print’s figure to make the edges cleaner and more exact.
- Still, you should get used to the size of the encounter by clicking on the arrow above the encounter. If the eraser tool is too big, you should click on the arrow. It is easy to change the size of the fight by moving the switch on the left to the right. This way, you can do it quickly. You should know that you’ll get the smallest size when you move the switch to the left.
- To save your print, you should click “Save As” and then “Train.” If you are satisfied with the print, you should click “Save As.”
- Name your printer and click “Save” to close and save it on your computer’s hard drive.
But if you have a complicated picture with many small objects that you want to keep in the picture, you might want to hire a professional print editor to do the job for a lot of money.